
I’d never been able to follow the “easy” instructions to put my kids’ toys together until I learned the technique that follows. Then I was able to get at my brakes to check them and even lubricate the wheel bearings and put everything back together again! The bonus is that this procedure works for anything that you need to take apart and put back together again — flat tires, toasters, bicycles, you name it.
Allow yourself plenty of time. If things get rough, have some water or a cup of coffee. You may get a whole new perspective when you go back to work. Limit distractions: Turn on your answering machine or take the phone off the hook, keep the kids and the dog away, and relax. If you hit a snag, sit quietly and think about it — don’t panic. If the parts fit together before, they’ll fit together again.
You’ll lay each part on this rag as you remove it. Consequently, the rag shouldn’t be in an area where oil or dust or anything else can fall on it and foul up the parts. If you plan to use something that blasts air for cleaning purposes, leave enough of the rag uncluttered to fold it over the parts resting on it.
Most amateurs put things back very tightly, in hopes that the part won’t fly off. But some things, like bolts that hold gaskets in place, shouldn’t be tightened too securely because, for example, the bolt threads could be stripped or the gasket could be squeezed out of shape, allowing whatever it’s holding in to get out. It’s helpful to make notes about how hard each thing was to remove. “Don’t over-tighten” or “Be sure it’s secure.” Some parts require exact torque specifications, but we don’t deal with them in this book
You can even put numbers on the parts with masking tape if you’re afraid that the rag may be moved accidentally. Also, note what each part was attached to; for example, “Part #6: Hook at end of arm on left hooks onto knob to right of Part #7.” Add a sketch if it helps. If you work systematically and understand the function of each part, you won’t be left with what seem to be extra nuts and bolts at the end of the job.
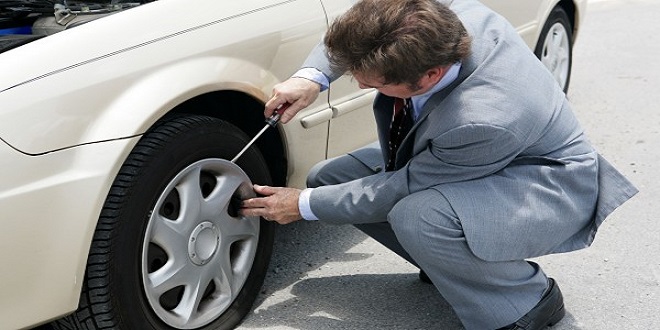
How to Use a Jack Safely
The most obvious reason to jack up a car is to change a tire, but other jobs such as inspecting brakes may also require you to get under the vehicle.Even if you’re skinny enough to squeeze yourself between the pavement and the underside of your car, you still need room to move around and manipulate tools.
has detailed information about the different types of jacks as well as items such as jack stands (essential) and creepers (nonessential, but nice). This section explains how to use a jack safely and efficiently. The next section tells you how to change a tire after the vehicle is in the air.
Last word
instead use a cellphone to call road service or an automobile association such as the AAA. If you don’t have a cellphone, hang a white rag or a white piece of paper out of the driver’s side window and wait for the highway patrol to rescue you.